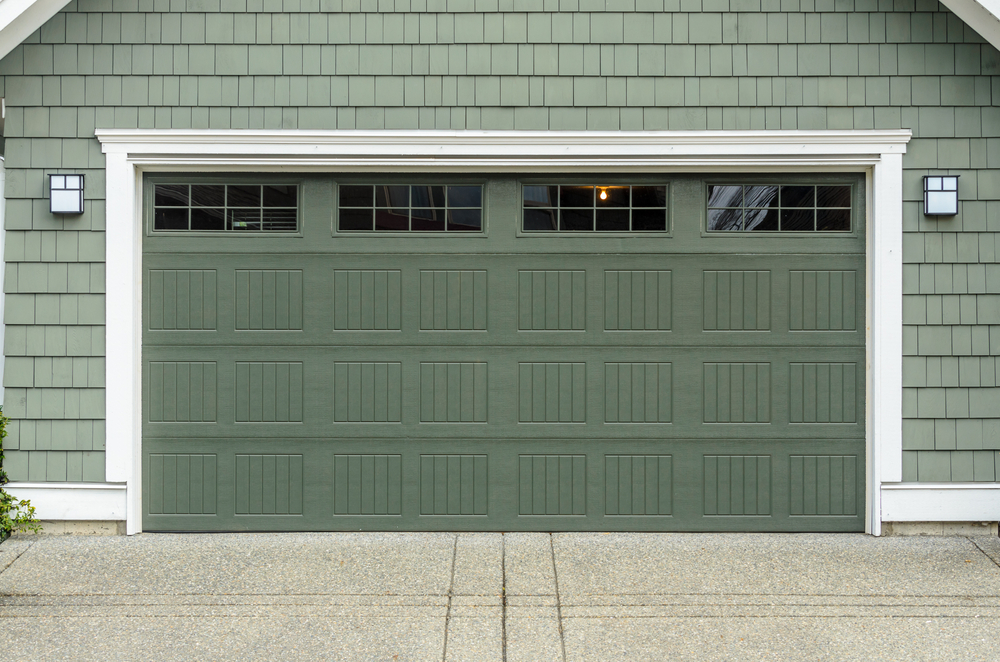
Possibly, the most common culprit for the loss of home energy is the garage door. With such a large area of your home being covered by the garage door, it’s easy to see how you may lose both heat and cooling throughout the year. The following includes the steps needed to insulate your garage door.
How to Improve Your Home With Garage Door Insulation
Choosing to insulate your garage door is quite possibly the best thing you can do for both your living comfort and your wallet. This is because the garage door is often the number one culprit of loss energy throughout the year. But how can you go about insulating your garage door? Read on to learn the various steps you need to take to install garage door insulation.
Garage Door Insulation Kit
The very first thing you need to do is go and purchase a garage door insulation kit. Most big box stores carry them and are relatively affordable. The only thing you need to keep in mind is the kind of kit you need. For example, if you have a wooden door, you need to purchase a kit that has rigid materials such as foam board. If you have anything else other than a wooden garage door, then any kit will work.
Measure and Tape
This is where an eye for detail comes in handy. Once you have your kit at home, the next step is to measure the exact location where your insulation is going to be added on. This will usually involve marking a spot 12 inches away from each garage door panel. After that, you may apply your double-sided tape. If you are concern about the placement of your double-sided tape, you may seek the services of a Visalia garage door repair company to assist you with the process.
Adding Garage Door Insulation
Now that your measurements are complete and your double-sided tape has been peeled off, and a retainer clip has been added it is now time to begin adding the insulation. Cut a piece of insulation (about 2 inches longer than your panel) and apply it to your garage door. Repeat the process for each panel.


